How do I create a new cover page in RelayFax?
This article explains how to create a custom cover page to be used with RelayFax.
From the RelayFax user interface:
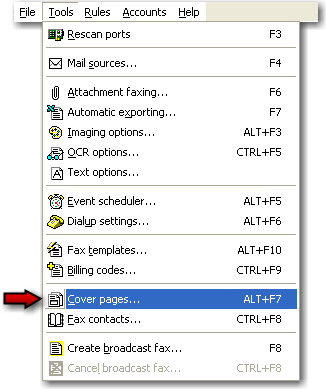
- Click Tools.
- Click Cover Pages.
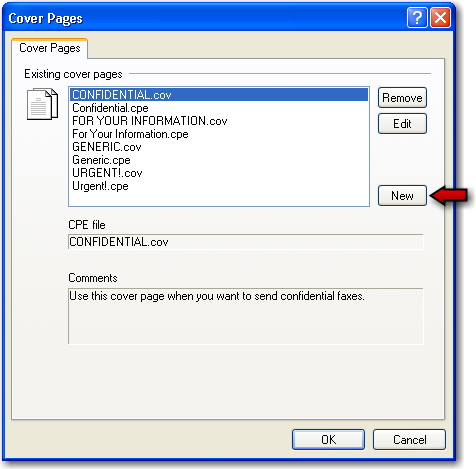
- Click the New button.
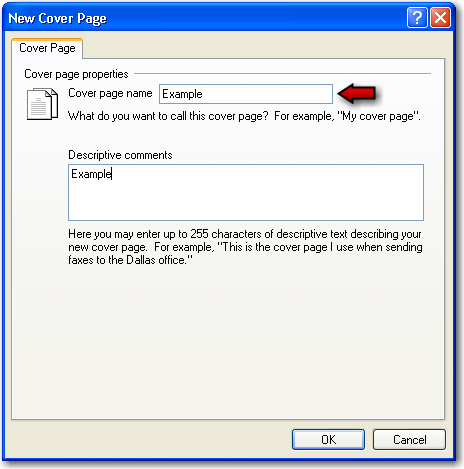
- In the Cover Page Name field, type the name you want to call this cover page.
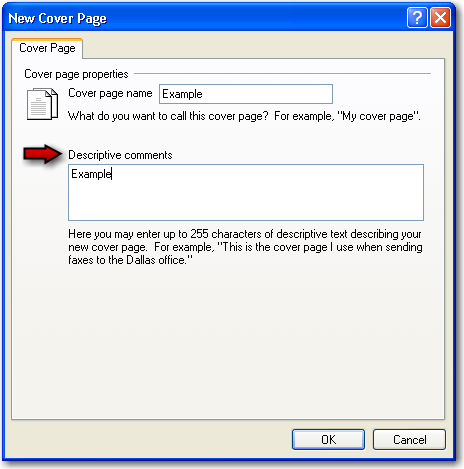
- In the Descriptive Comments field, type descriptive text describing your new Cover Page.
- Click OK.
- From this point, the processes for creating new Cover Pages and for editing existing Cover Pages are identical.
- When you have finished creating or editing your Cover Page simply save it but do not change its file name.
- Close the Fax Cover Page Editor and you will see a program information box.
- Click OK.
- Click OK again.
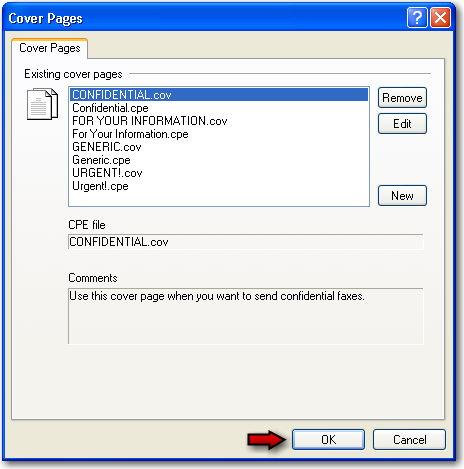
By default, these files will be created in the Covers sub-directory located in your RelayFax directory.
